How to set up and manage multiple sites using WordPress Multisite feature

- Published on

Introduction:
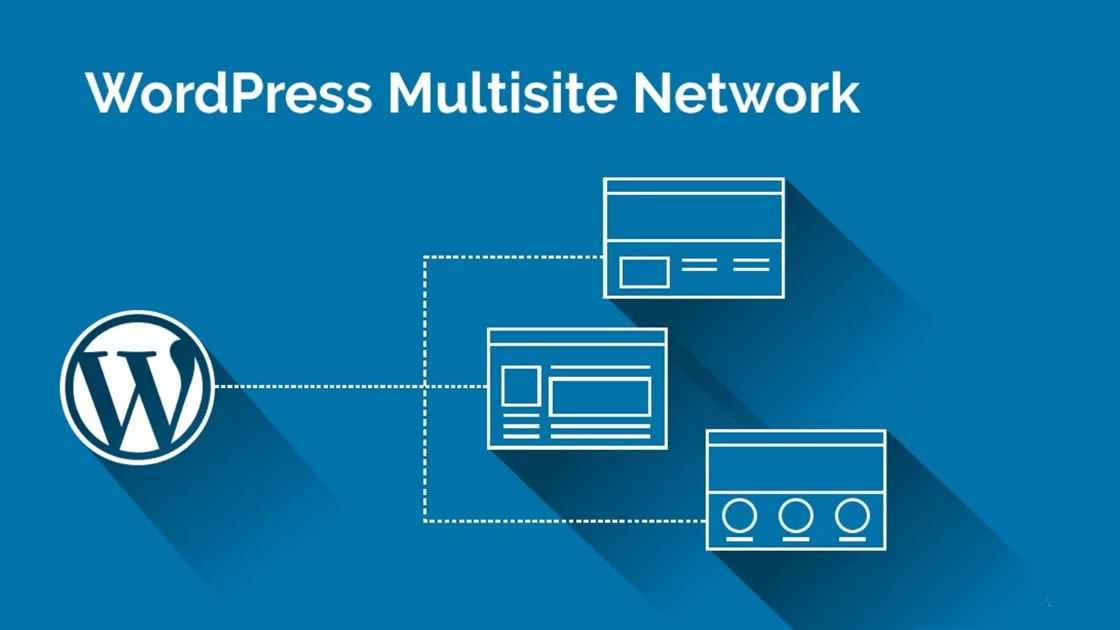
WordPress Multisite is a powerful feature that allows you to manage multiple websites from a single WordPress installation. Whether you're a developer, agency, or an individual managing multiple websites, WordPress Multisite streamlines the process by enabling you to centrally manage themes, plugins, and users across all sites. In this article, we'll guide you through the steps to set up and manage multiple sites using WordPress Multisite, along with some helpful code snippets.
Step 1: Enable WordPress Multisite:
To enable Multisite, open your wp-config.php file located in the root directory of your WordPress installation. Add the following code just before the line that says /* That's all, stop editing! Happy blogging. */:
/* Enable WordPress Multisite */
define('WP_ALLOW_MULTISITE', true);
Save the file, and when you refresh your WordPress dashboard, you'll find a new option under "Tools" called "Network Setup."
Step 2: Set Up Network:
- Go to "Tools" -> "Network Setup" in your WordPress dashboard.
- Choose between sub-domains or sub-directories as the site structure. Sub-domains use a wildcard DNS record, while sub-directories require server configuration.
- Fill in the required network details, such as the network title and admin email address.
- Click the "Install" button.
Step 3: Configure Network:
After the network setup, WordPress will provide you with some code snippets to add to your wp-config.php and .htaccess files. Follow the instructions provided carefully.
Step 4: Create New Sites:
- Access the "My Sites" menu in your WordPress dashboard.
- Click on "Network Admin" -> "Sites" -> "Add New."
- Fill in the site address, site title, and admin email address.
- Click the "Add Site" button to create the new site.
Step 5: Manage Themes and Plugins:
With Multisite, you have the option to activate themes and plugins network-wide or individually for each site. Here are some code snippets to help you manage themes and plugins programmatically:
To activate a theme network-wide:
function activate_theme_network_wide($theme_name) {
    switch_theme($theme_name, $theme_name);
    update_option('current_theme', $theme_name);
}
add_action('wpmu_new_blog', 'activate_theme_network_wide');
To activate a plugin network-wide:
function activate_plugin_network_wide($plugin_name) {
    $plugins = get_site_option('active_sitewide_plugins');
    $plugins[$plugin_name] = time();
    update_site_option('active_sitewide_plugins', $plugins);
}
add_action('wpmu_new_blog', 'activate_plugin_network_wide');
Step 6: Manage Users:
WordPress Multisite allows you to manage users at the network level and assign them different roles. To add a user to a specific site programmatically, you can use the following code snippet:
add_user_to_blog($blog_id, $user_id, $role);
Replace $blog_id with the ID of the site you want to add the user to, $user_id with the ID of the user, and $role with the desired role (e.g., 'administrator', 'editor', 'author', etc.).
Conclusion:
WordPress Multisite simplifies the management of multiple websites, making it an excellent choice for developers, agencies, and site owners with multiple web properties. By following the steps outlined in this article and utilizing the provided code.